Here's Giovanni, my new roommate. Just adopted him from some friends who found he didn't get along with their other fish, which is no surprise since he's a Betta. He's not even been here a week but I've already learned so much about what Bettas need.

First, I learned the ideal tank size for a single Betta is 5 gallons, but they can live in less, 2 gallons being a minimum (based on information in forums). A friend of mine in college had one in a tiny bowl with a plant growing in it. Turns out that is a huge NO for Betta fish, who need much more water, access to surface air for their Labyrinth organ, and who'll only eat plants if they are starving to death.
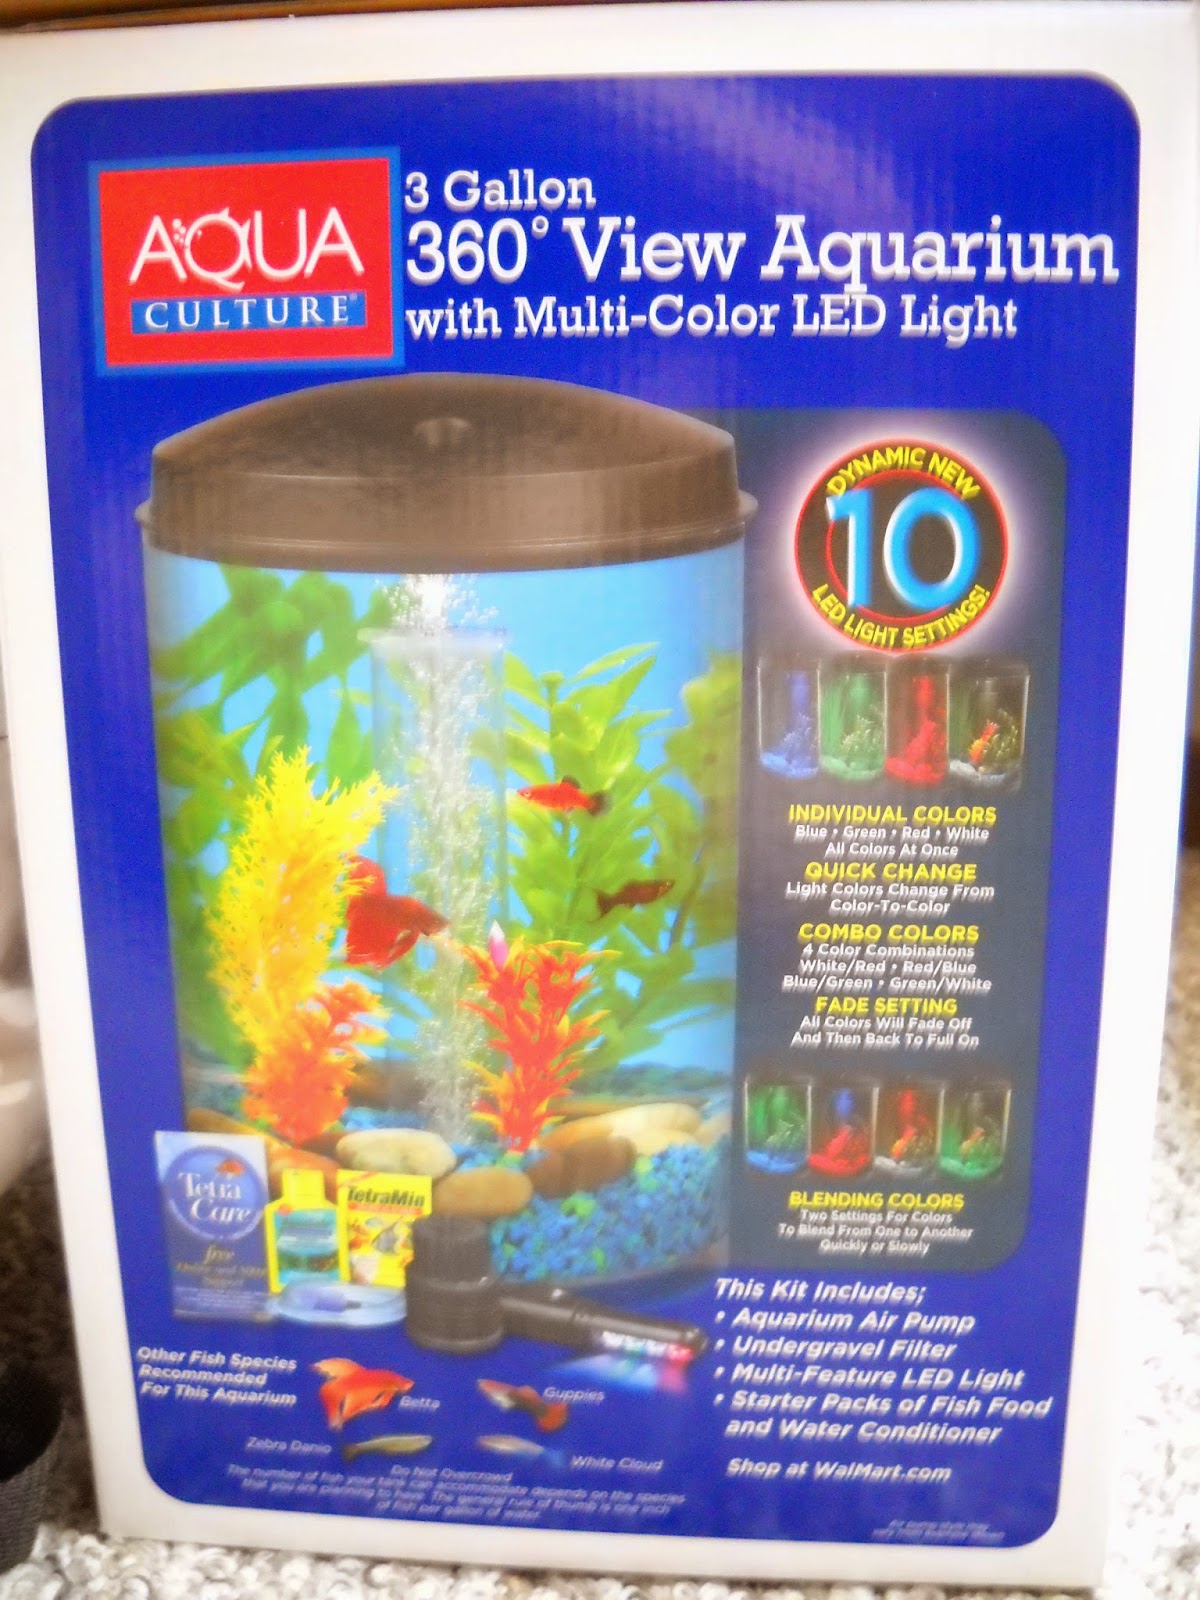
What I got for Giovanni is this 3-gallon tank, which came in a kit including LED light, aquarium air pump, undergravel filter, and starter packs of food and water purifier. I also bought a pack of fake plants and a bag of aquarium gravel. There was a sort of spiky plant in there, too, but I learned those can hurt the Betta's delicate and sensitive fins, so I removed it. The large rocks in the tank are some I collected on a trip to Lake Superior. Now that I think of it, Lake Superior is the complete opposite of a tropical Betta's world!

And that reminds me of the next thing I learned - room temperature is not warm enough for the Betta. At least not in Minnesotan winter, anyway. My house is maybe 65 degrees, and Bettas prefer 76-82, so that was clearly a problem and was making Giovanni sluggish. So I got a thermometer and a submersible tank heater, and within a day, Lil G was up and exploring his new home with much more zest. It was a relief to find the problem was just the temperature and not something else! Also, on a side note, it was a good surprise that the suction cups on the thermometer and heater work so well. Suction cups in my experience are never trustworthy. But these are an exception.


 Another thing about Bettas is that they are lovers of slow-moving water. Too much current in the tank is bad. The filter that came with my tank created too much current, so I cut out two layers of nylon from some old pantyhose and placed them between the fish guard and rise tube. I cut a hole in the center of the nylon pieces to allow the air tube to still pass through. This made for a much more gentle current.
Here is the water purifier that came with my kit (pictured right). The food included was unfortunately flake food, which Bettas apparently can have but mine will not eat. So I bought TetraBetta mini pellets (pictured left). They're small enough for his tiny mouth, not to mention he actually eats them rather than staring indignantly at them like he did with the flake food. =]

I'm sure I still have much more to learn about caring for my home's new addition! And I'm looking forward to it. Glad the little guy is settling in well.
Though he does seem to be a little camera shy?


